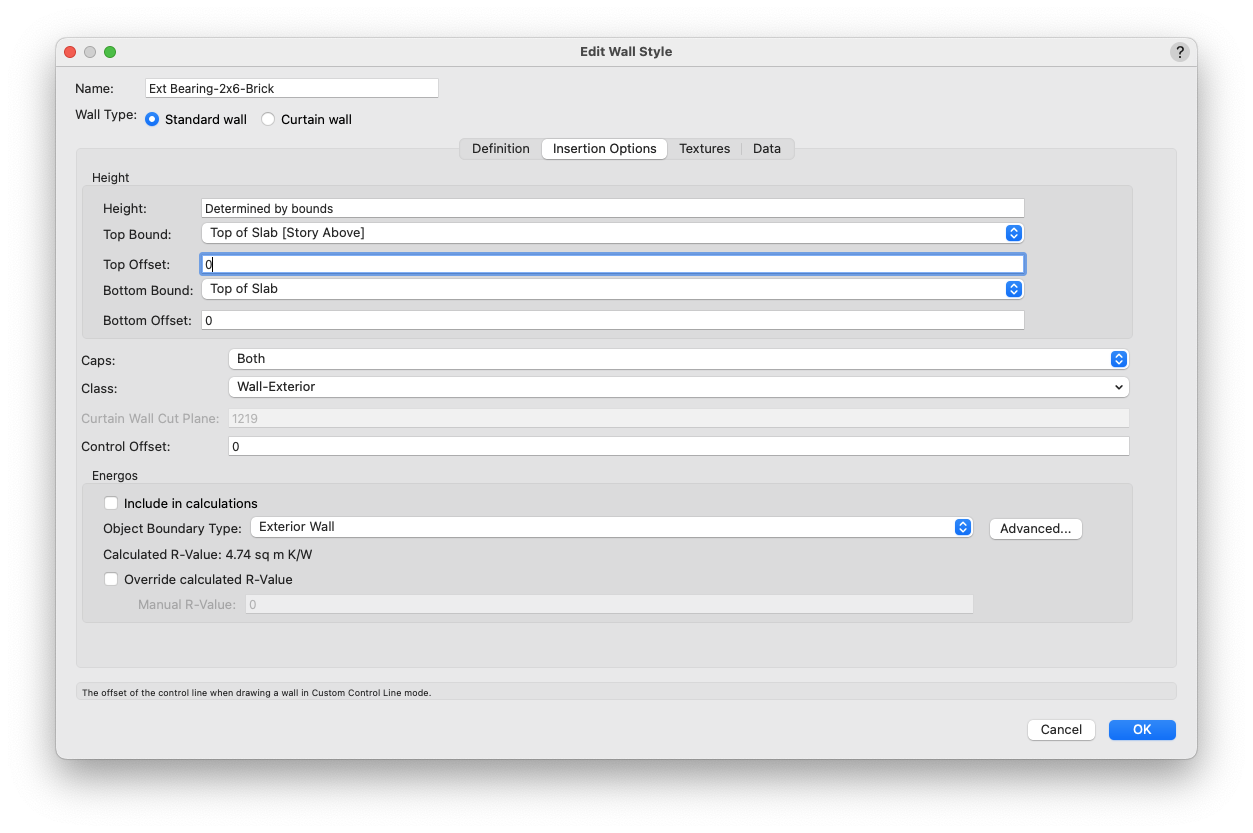
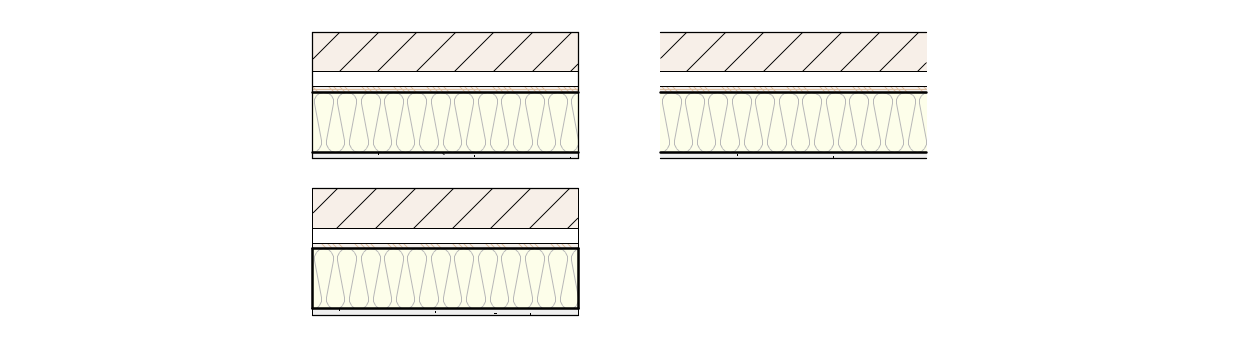
Caps: With this dropdown, you can choose whether a line appears to "cap" the Start, End, or Both (Start and End) points of the wall. (Note: Wall Caps can be set to "Use wall line attributes" or "Use component line attributes." This setting, however, is located within the Wall Attributes dialog, which is accessed by clicking the Edit Wall Attributes button when the Definition tab is active.)
Class: This dropdown is where the wall style's default class is chosen. The class selected here is often called the "container class" because its sole task is to control the visibility of the wall object (and not its graphic attributes). Furthermore, the display of the wall object's fill and pen attributes may vary depending on the detail level and other viewport settings.
Control Offset: In this field, you can enter an offset value to assist with drawing walls when using the Wall Tool's Custom Control Line Mode.
Energos: The parameters within this field are only needed if you plan to run an Energos evaluation of your design. It requires Vectorworks Architect or Design Suite.
 Class: This dropdown is where the wall style's default class is chosen. The class selected here is often called the "container class" because its sole task is to control the visibility of the wall object (and not its graphic attributes). Furthermore, the display of the wall object's fill and pen attributes may vary depending on the detail level and other viewport settings.Control Offset: In this field, you can enter an offset value to assist with drawing walls when using the Wall Tool's Custom Control Line Mode.Energos: The parameters within this field are only needed if you plan to run an Energos evaluation of your design. It requires Vectorworks Architect or Design Suite.