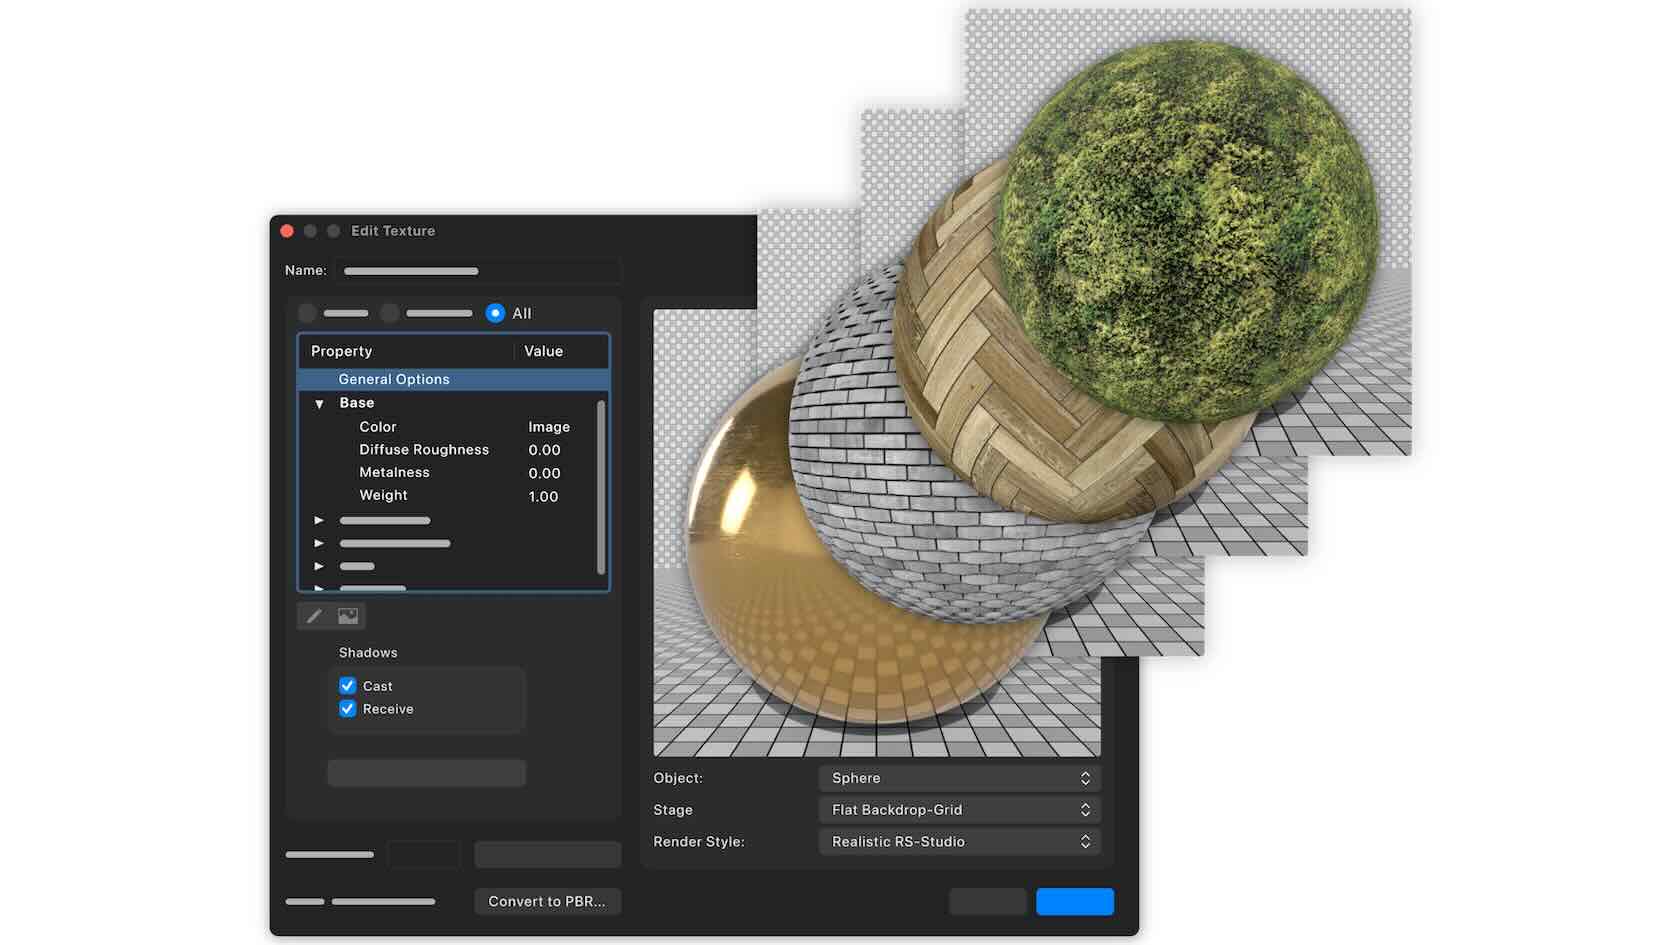
Create stunning textures once, then enjoy the payoff everywhere you work. A modern PBR texture system lets you build richer, more realistic materials with live previews, convert old textures in a click, and send those same render ready surfaces straight into dedicated visualization tools—so your visuals all share the same high-quality materials without extra rework.
Discover how to get started with this video.
All Industries
All Industries
12m
Beginner
Learning Objectives
Identify the core OpenPBR property categories — Base, Specular, Transmission, Coat, Emission, and Geometry — and describe how each one shapes a material's response to light.
Create a Renderworks texture in the Edit Texture dialog by assigning colors or image maps to properties, setting texture size and surface hatch, and using the Basic, Modified, and All display options along with the live preview to refine results.
Apply PBR properties to real scenarios such as fabric, masonry, translucent, and natural materials, and convert legacy pre-2027 textures to PBR while preserving the original resource.
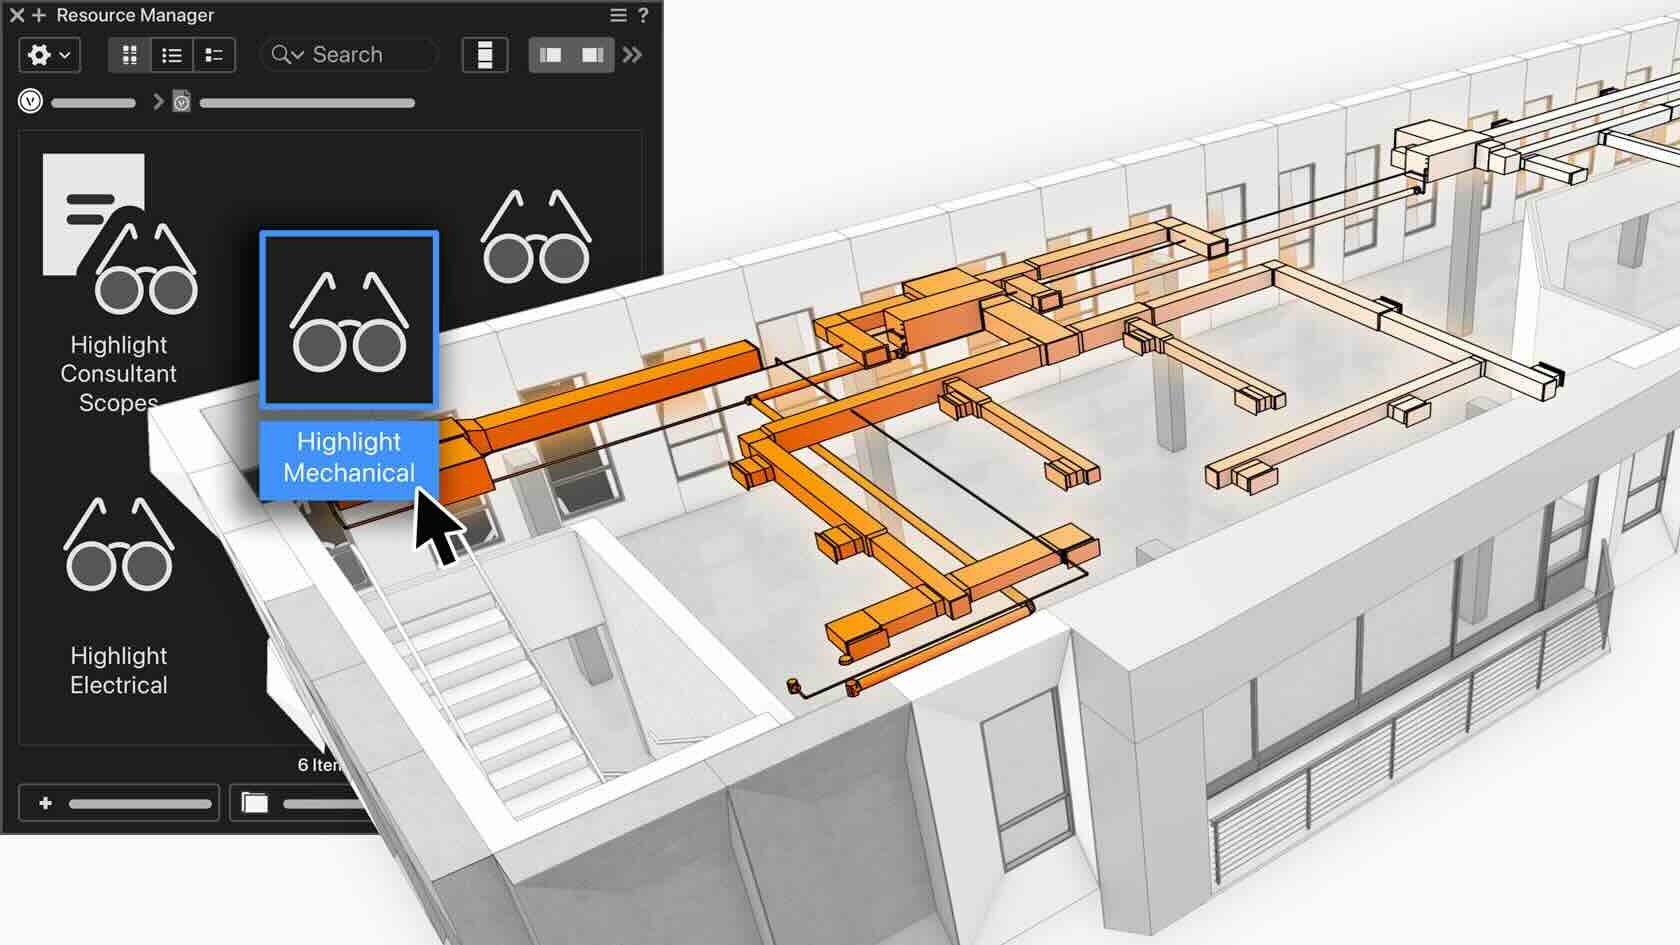
Data Visualization lets you graphically see the data in your design without changing the attributes of the underlying objects. This video introduces you to Data Visualization resources, which are managed in the Resource Manager and sharable with others. Data Visualization Sets, which combine multiple individual Data Visualizations, are also featured. Sets enable individual Data Visualizations to be easily activated together or uniquely, with control over their priority order. You will see how to build a Data Visualization and a Set and various ways to apply them to your model and views.
All Industries
All Industries
10m
Beginner
Learning Objectives
Explain how data visualizations act as a graphic overlay that overrides attributes or visibility based on object data without altering the underlying geometry, and locate them as resources in the Resource Manager.
Create an individual data visualization by setting its type (Change Attributes or Hide), object criteria, and display criteria by value or range, including the option to apply attributes to associated data tags.
Build and apply data visualization sets, controlling priority order and the Use Only First Applicable behavior, and activate them from the Resource Manager, the View bar dropdown, viewports, or saved views.
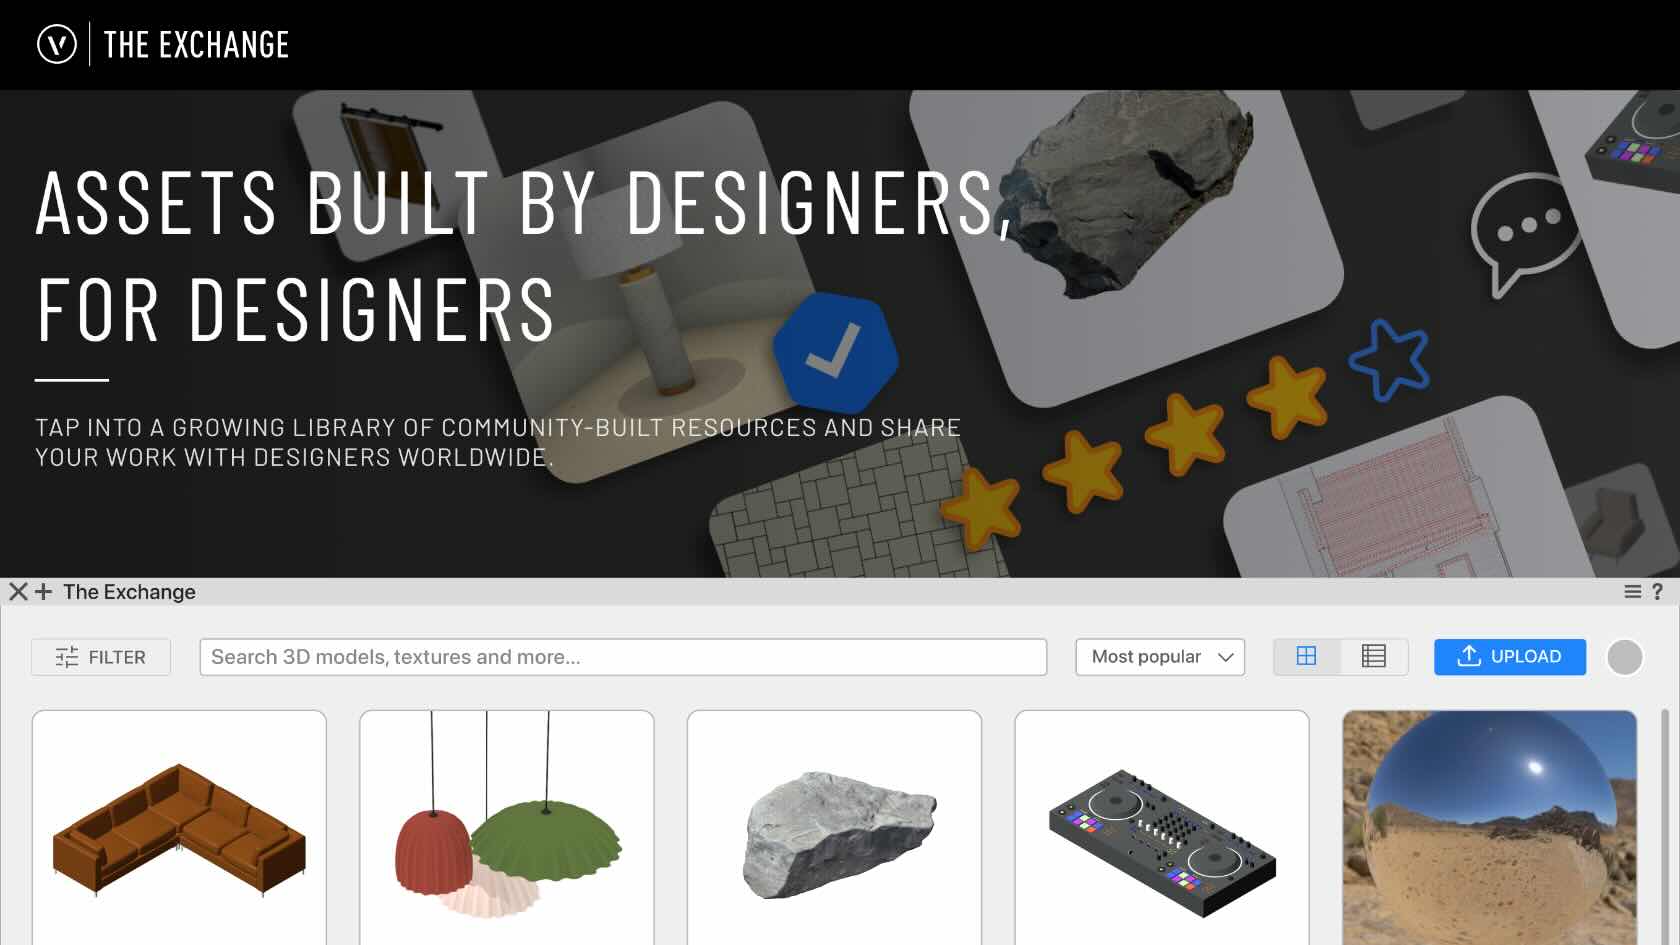
The Exchange is a community-driven platform for discovering, downloading, and sharing Vectorworks-ready design resources, including symbols, materials, hatches, textures, render styles, and much more. The Exchange is available both as a standalone website and as a web palette inside Vectorworks, so browsing and downloading resources directly into your Resource Manager without leaving your Vectorworks file is quick and easy. This video walks through searching and filtering the catalog, reviewing a resource's details and other metadata, importing a resource into your document, and sharing your own resources with the Vectorworks community.
All Industries
All Industries
8m
Beginner
Learning Objectives
Access the Exchange from both the standalone website and the web palette inside Vectorworks, and use search, sorting, filtering, and resource detail pages to find community-created resources.
Download resources from the website or import them directly into an open document through the palette so they appear in your Resource Manager.
Share your own resources on the Exchange by uploading from the Resource Manager or palette, configuring the thumbnail, tags, category, and description, and managing or deleting your published resources from your profile.
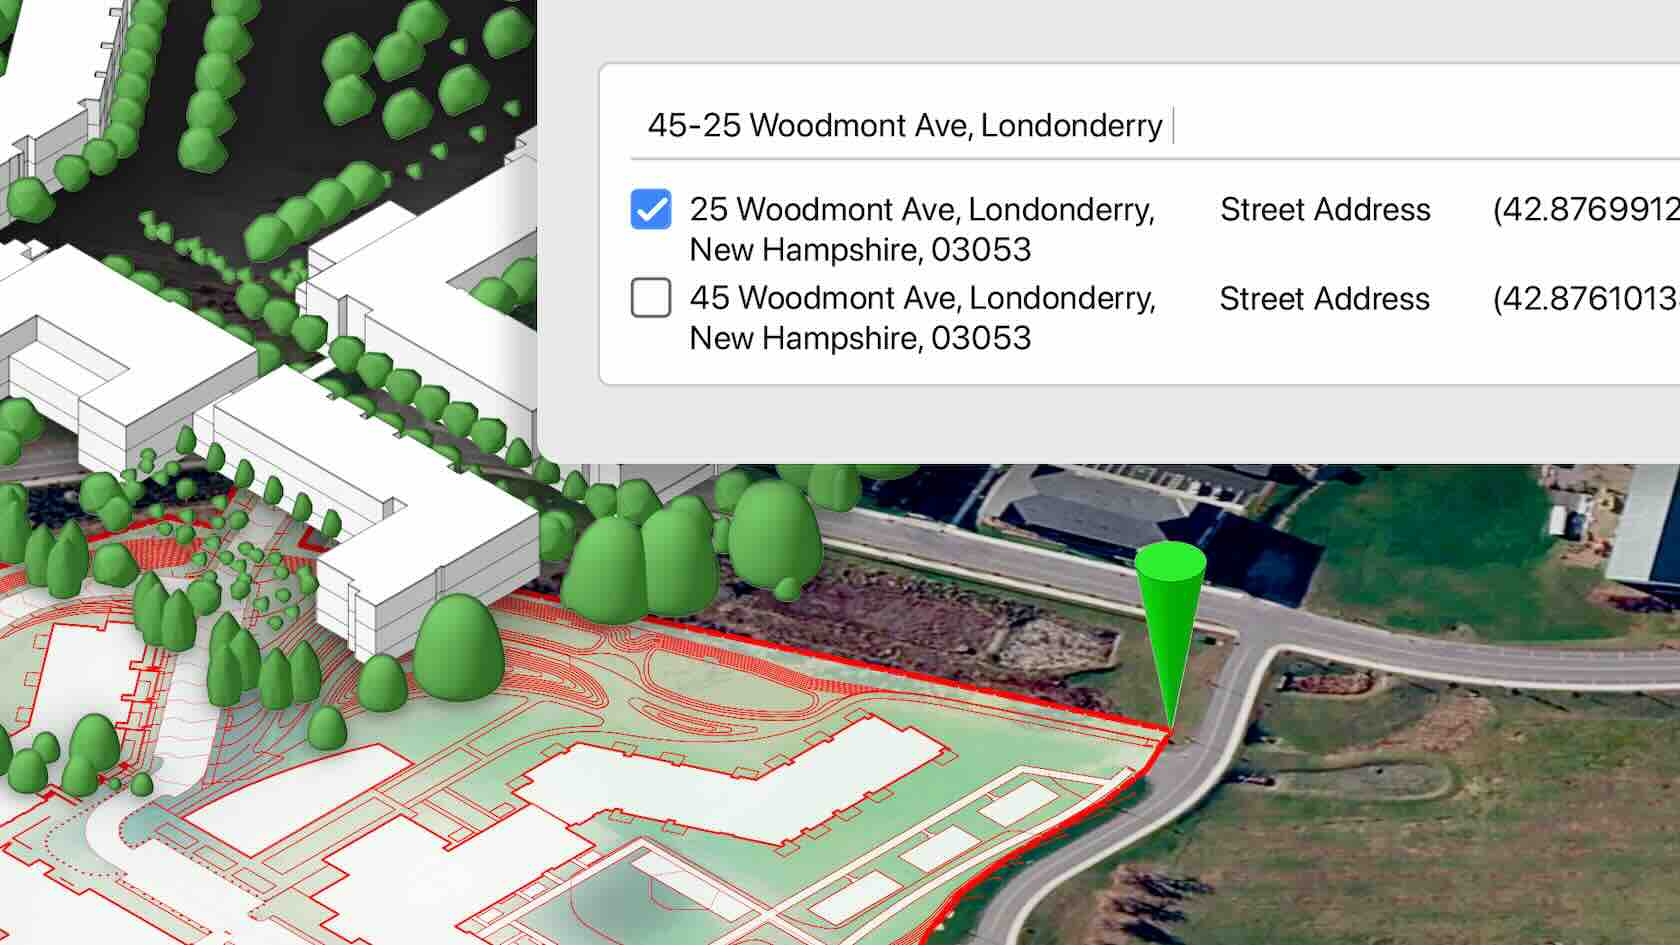
Anchor your Vectorworks model to its real-world position on the map without needing GIS expertise. With the Geolocation Setup Wizard, you can align satellite imagery, surveys, point clouds, and GIS layers around a single survey point. Move smoothly between local project coordinates and true geospatial positions as needed, and easily keep federated models aligned for coordination and review.
Landscapes
Landscapes
10m
Beginner
Learning Objectives
Georeference a blank Vectorworks file using the Geolocation Setup Wizard by entering a project address, selecting a coordinate reference system, positioning the base map, and placing a survey point.
Geolocate a file that already contains geometry — such as an imported survey DWG or an existing building model — by setting the correct CRS, angle from true north, and survey point alignment options without transforming existing objects.
Import georeferenced DWG, IFC, and point cloud files aligned to the document's georeferencing so consultant models and scans land in the correct real-world position and scale.
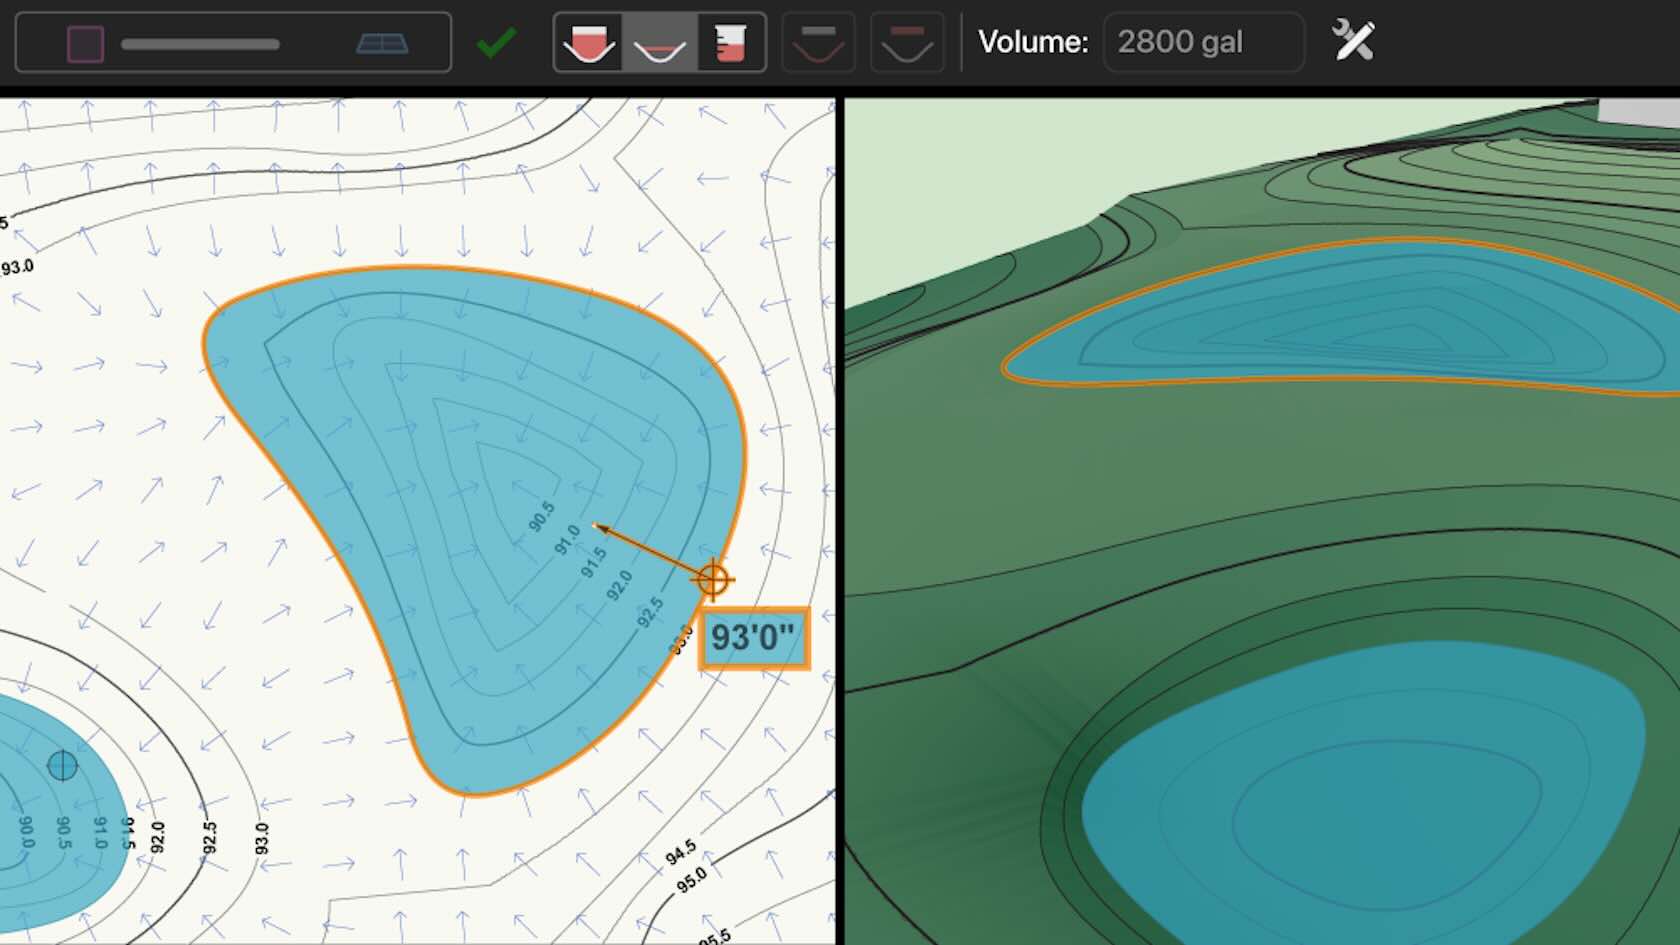
Turn hard-to-define spaces—such as backfill areas or attenuation pond capacity—into clear, reliable data without hand-building complex solids. The Volume Fill tool automatically fills and quantifies gaps between site elements and basins, reporting volume, area, and footprint so you can iterate on grading and stormwater strategies
using precise data rather than rough estimates.
Landscapes
Landscapes
8m
Beginner
Learning Objectives
Distinguish the Volume Fill tool's three modes — Two-Surface, Horizontal Fill, and Volume Fill — and select the appropriate mode for a given site or architectural scenario.
Create Volume Fill objects by picking bottom and top boundary objects, setting a surface elevation over a site model, or entering a required volume for Vectorworks to solve, and update them using Reset Volume Fill Object when source geometry changes.
Document volumetric results by assigning materials and names in the Object Info palette and reporting volume, area, and perimeter through data tags and preformatted worksheets.
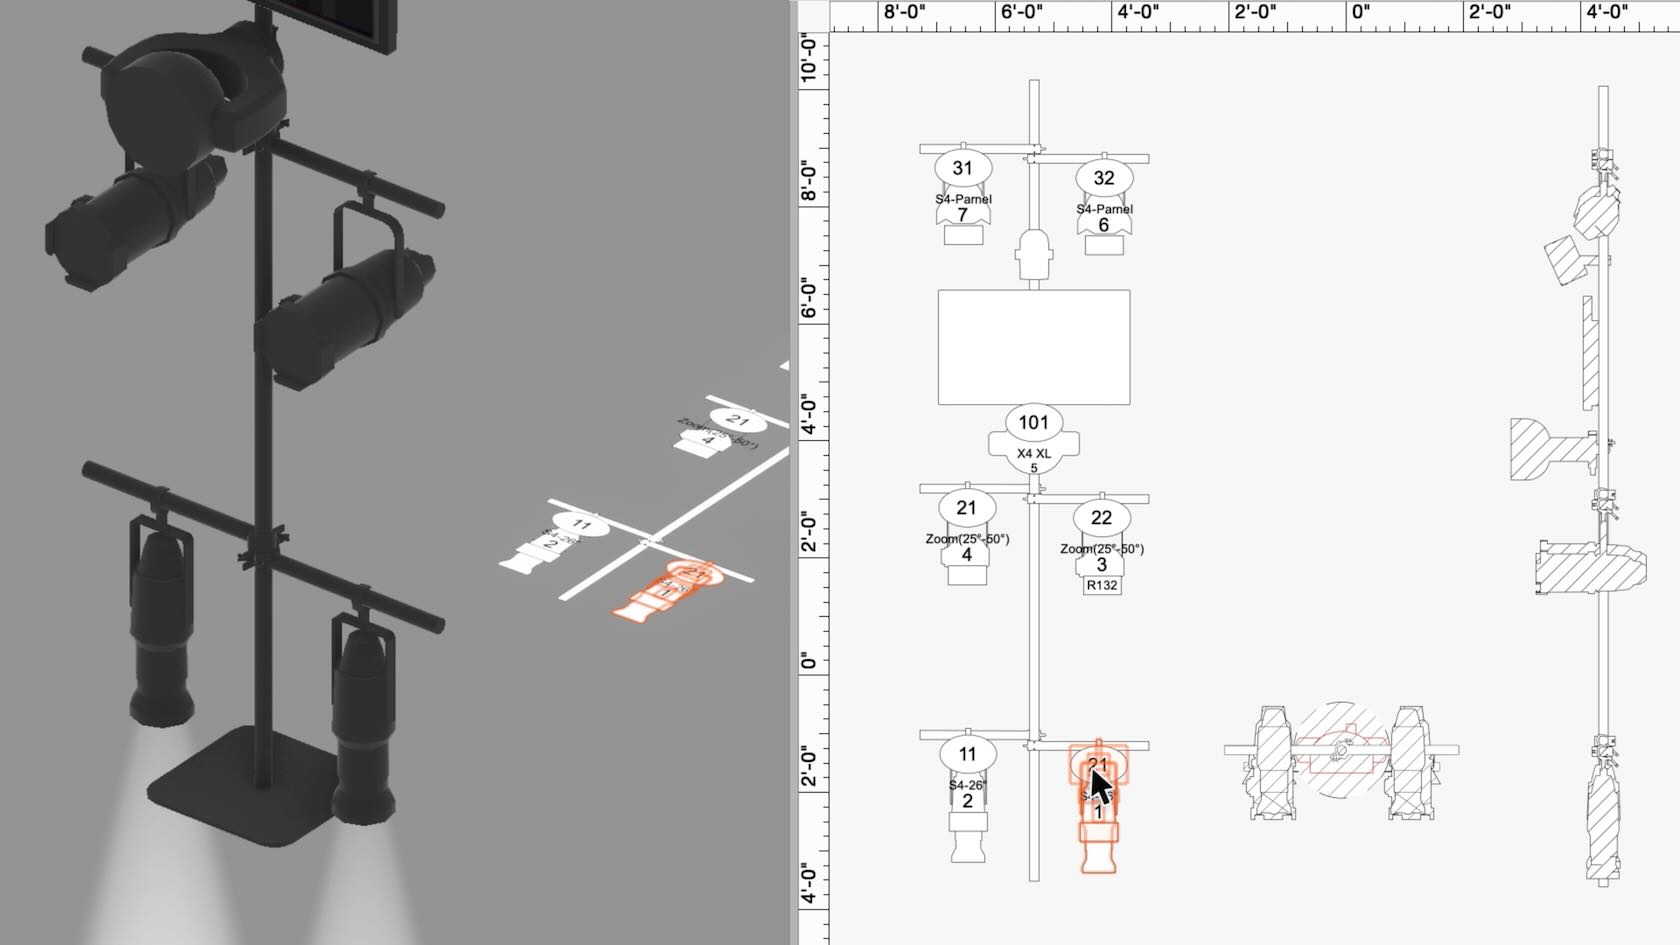
Quickly turn complex 3D rigs into accurate 2D schematics. Enhanced schematic view workflows let you pick rig faces visually, mark each schematic with its orientation, reuse saved creation sets across shows, and auto apply label legends, data tags, and dimensions. Read rig schematics at a glance, keep drawings consistent from project to project, and spend less time on manual cleanup.
Entertainment
Entertainment
8m
Beginner
Learning Objectives
Create schematic views of a rigging position using the three available methods — from Faces, from Top/Front, and from View Direction — and choose the method that best fits your rig's orientation.
Configure schematic view content in the Create Schematic Views dialog, including view markers, 2D component views and load offsets, data tags, and label legends, to produce clear, readable documentation.
Add automated dimensions and save your configuration as a schematic view set, then manage, export, and import those sets to reuse consistent settings across positions and projects.
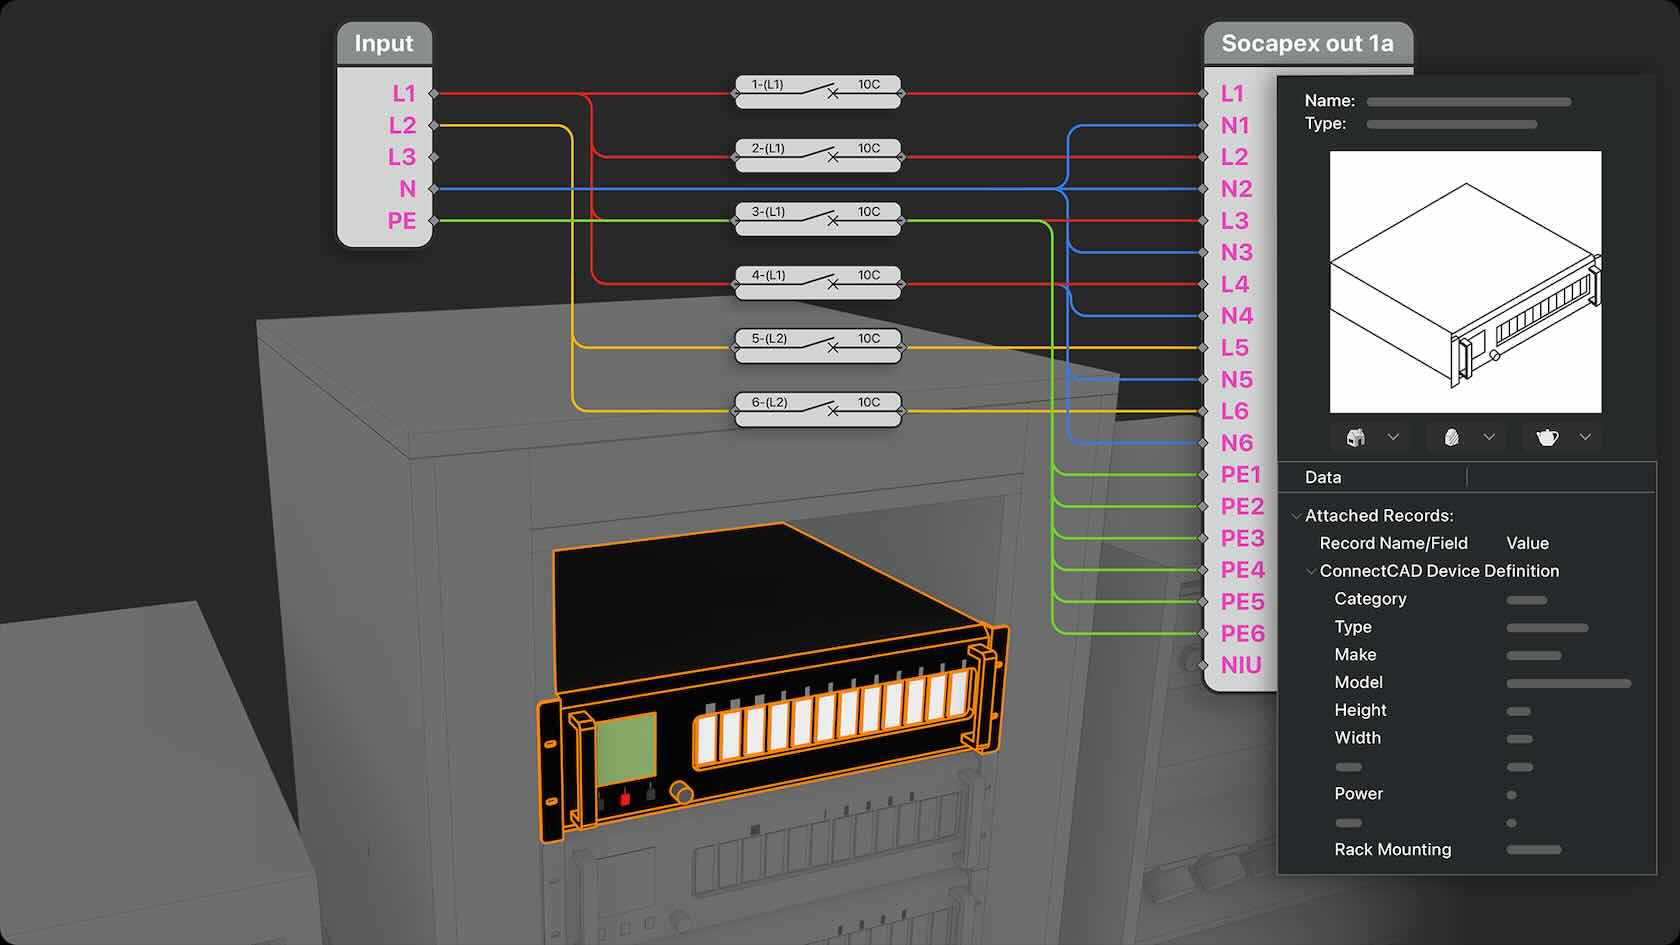
Discover how Cable Connectivity Workflows streamline your cabling process. Connectivity establishes a unified system to define cable connectivity for any type of equipment, including a dedicated visual workspace to layout and edit internal wiring, and smarter cabling calculations that respect break-in and break-out lengths.
You’ll learn how to set up equipment to work with cable and power planning, using the connectivity workflow, and how it benefits your cable and power planning process.
Entertainment
Entertainment
17m
Intermediate
Learning Objectives
Configure a device for cable and power planning by attaching the ConnectCAD device definition record, setting its properties and sockets in the Edit Device Definition dialog, and mapping its internal wiring between component pins.
Set breakout and break-in circuit lengths in the distro record, including staggered and repeating length patterns, and explain how those lengths factor into cable length calculations and automatic patching.
Apply connectivity workflows in practice by building a custom breakout symbol, cabling equipment with the cable tool and Power Patch Selected, and generating a power schematic that includes both power and data cables.
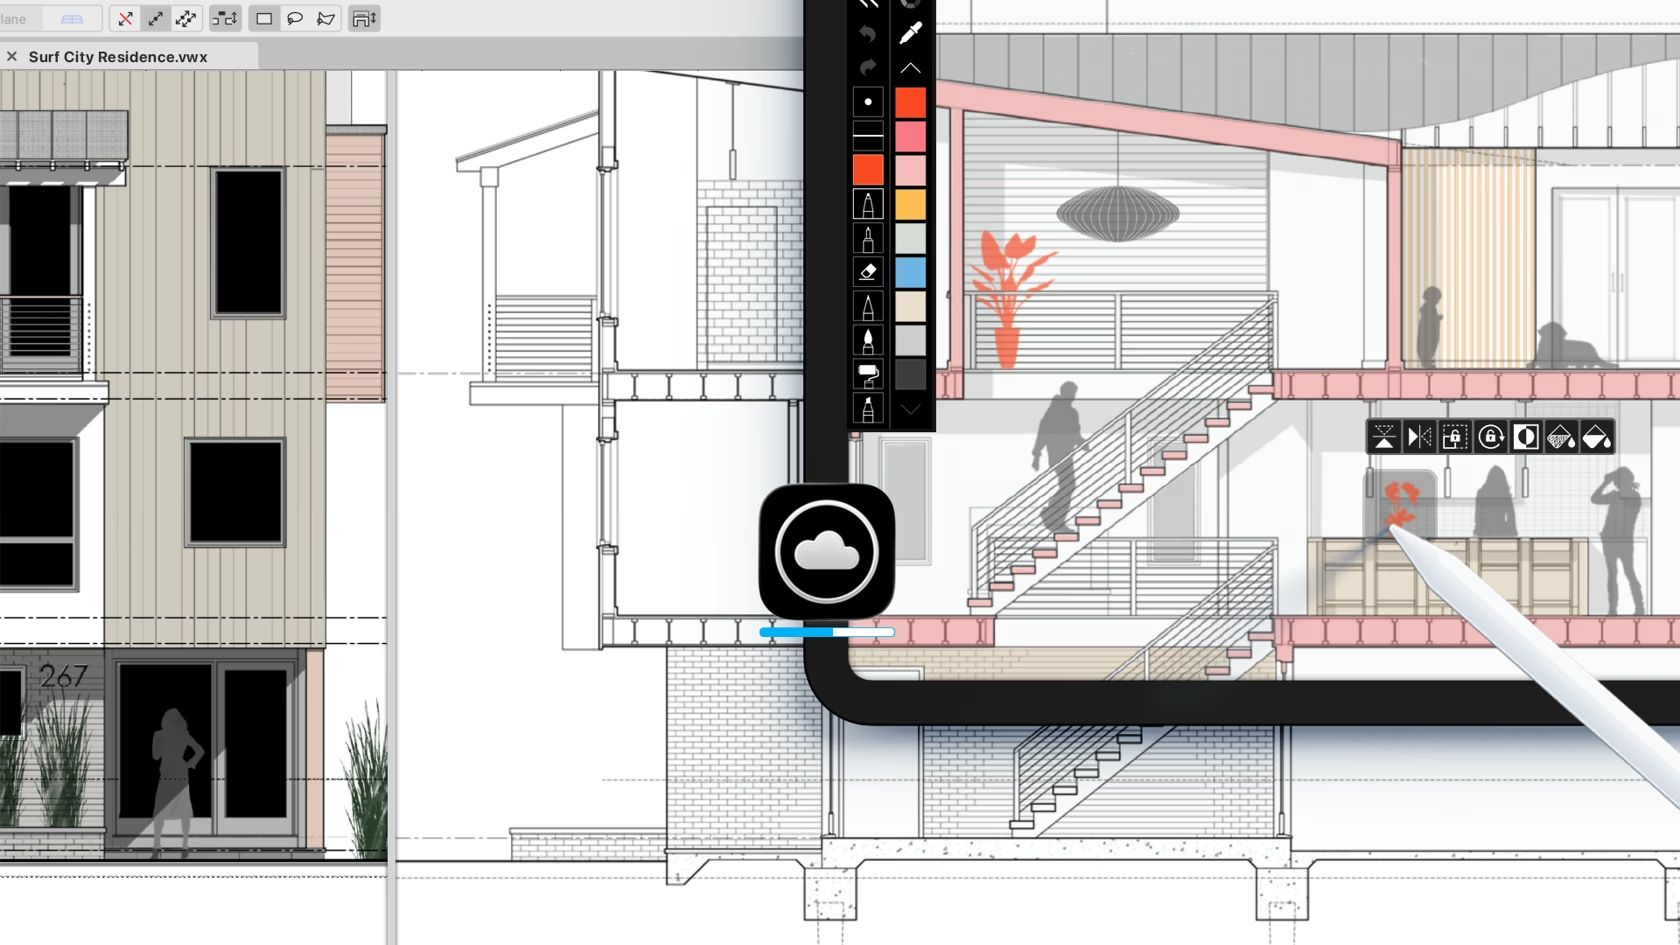
The Morpholio Trace integration with Vectorworks lets you sketch on your plans and other drawings by sending scale-accurate sheets or viewports via the cloud to your iPad. Sketch freely and then have your ideas flow straight back into your Vectorworks project as images or linework via DXF with less effort. No more manual juggling of PDFs, emails, and uploads simply to sketch by hand.
All Industries
All Industries
4m
Beginner
Learning Objectives
Explore the new Morpholio Trace integration released with Vectorworks 2026 Update 5.
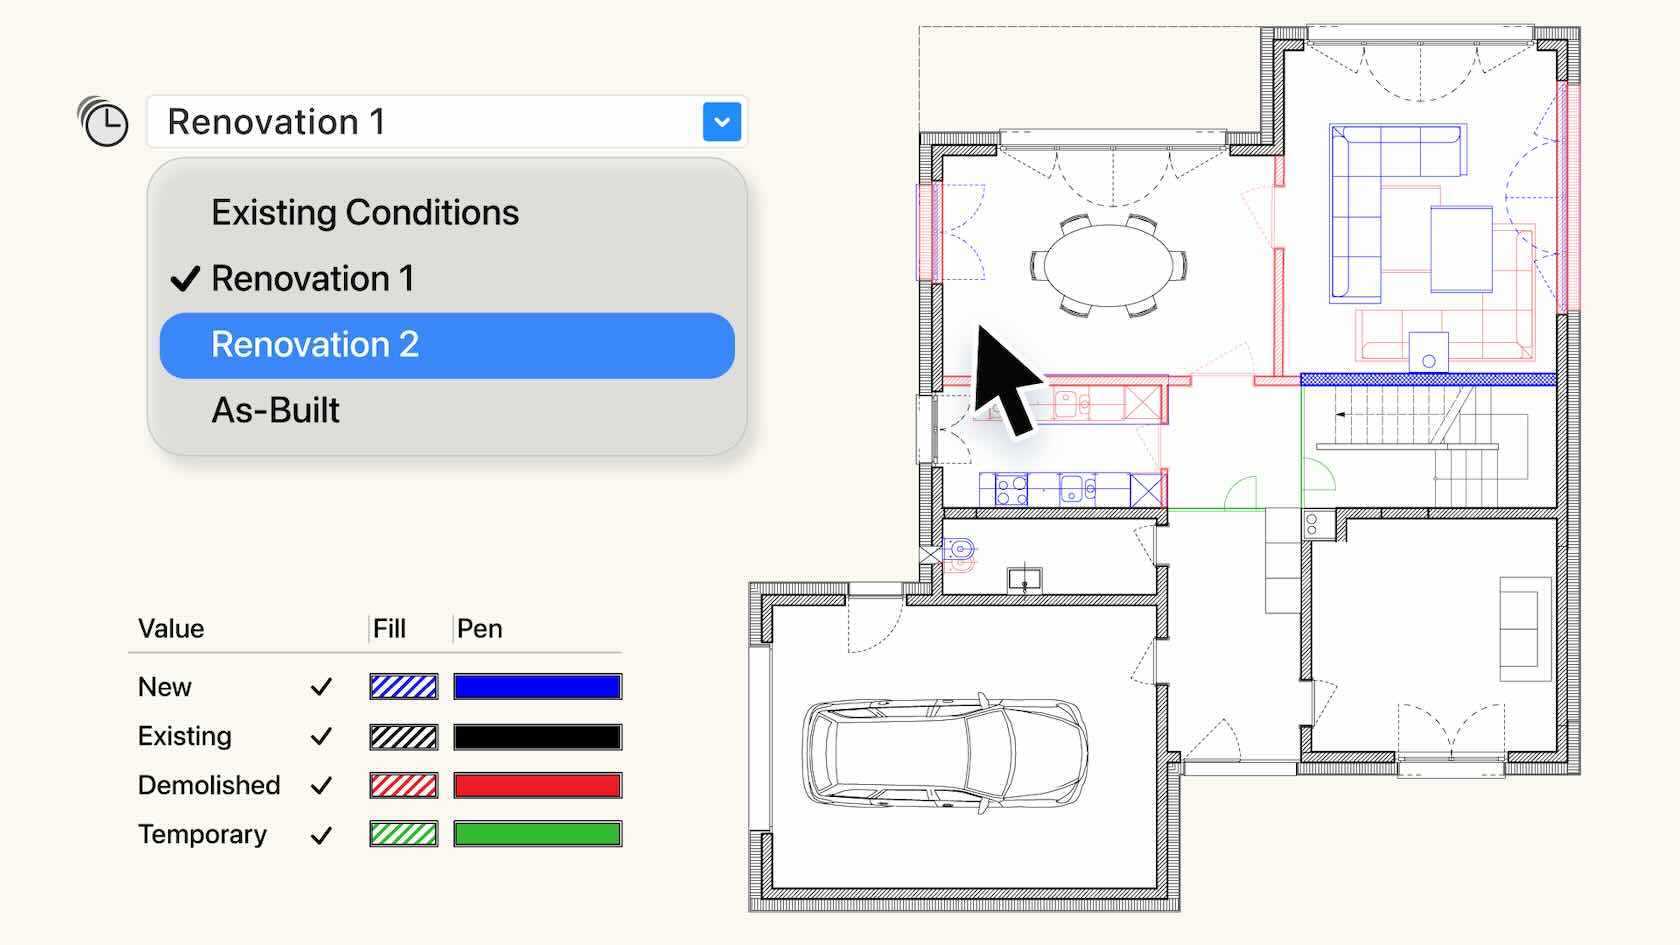
The comprehensive Phasing system tracks objects through time to align with construction conditions such as existing, demolition, temporary, or new. Effectively manage object status across multiple phases, and automatically create crystal-clear, phase-correct visuals, accurate documentation and reports. Phasing provides a single-truth, giving you the confidence to deliver high quality projects. Discover how to get started with this video.
Buildings/Interiors
Buildings/Interiors
15m
Intermediate
Learning Objectives
Identify the phase statuses in Vectorworks — existing, demolished, removed, new, temporary, and relocated — and set an object's Phase Created and Phase Removed parameters, including the reuse option, in the Object Info palette.
Manage project phases from the View bar by switching the active phase and using the Manage Phases dialog to insert, name, date, and merge phases.
Apply and customize data visualization sets (Phasing Complete, Demolition, New, All, and Current Only) to control object graphics and visibility, and use the Demolition tool, Phasing Removed Objects palette, and phase-specific viewports to produce coordinated renovation documentation.
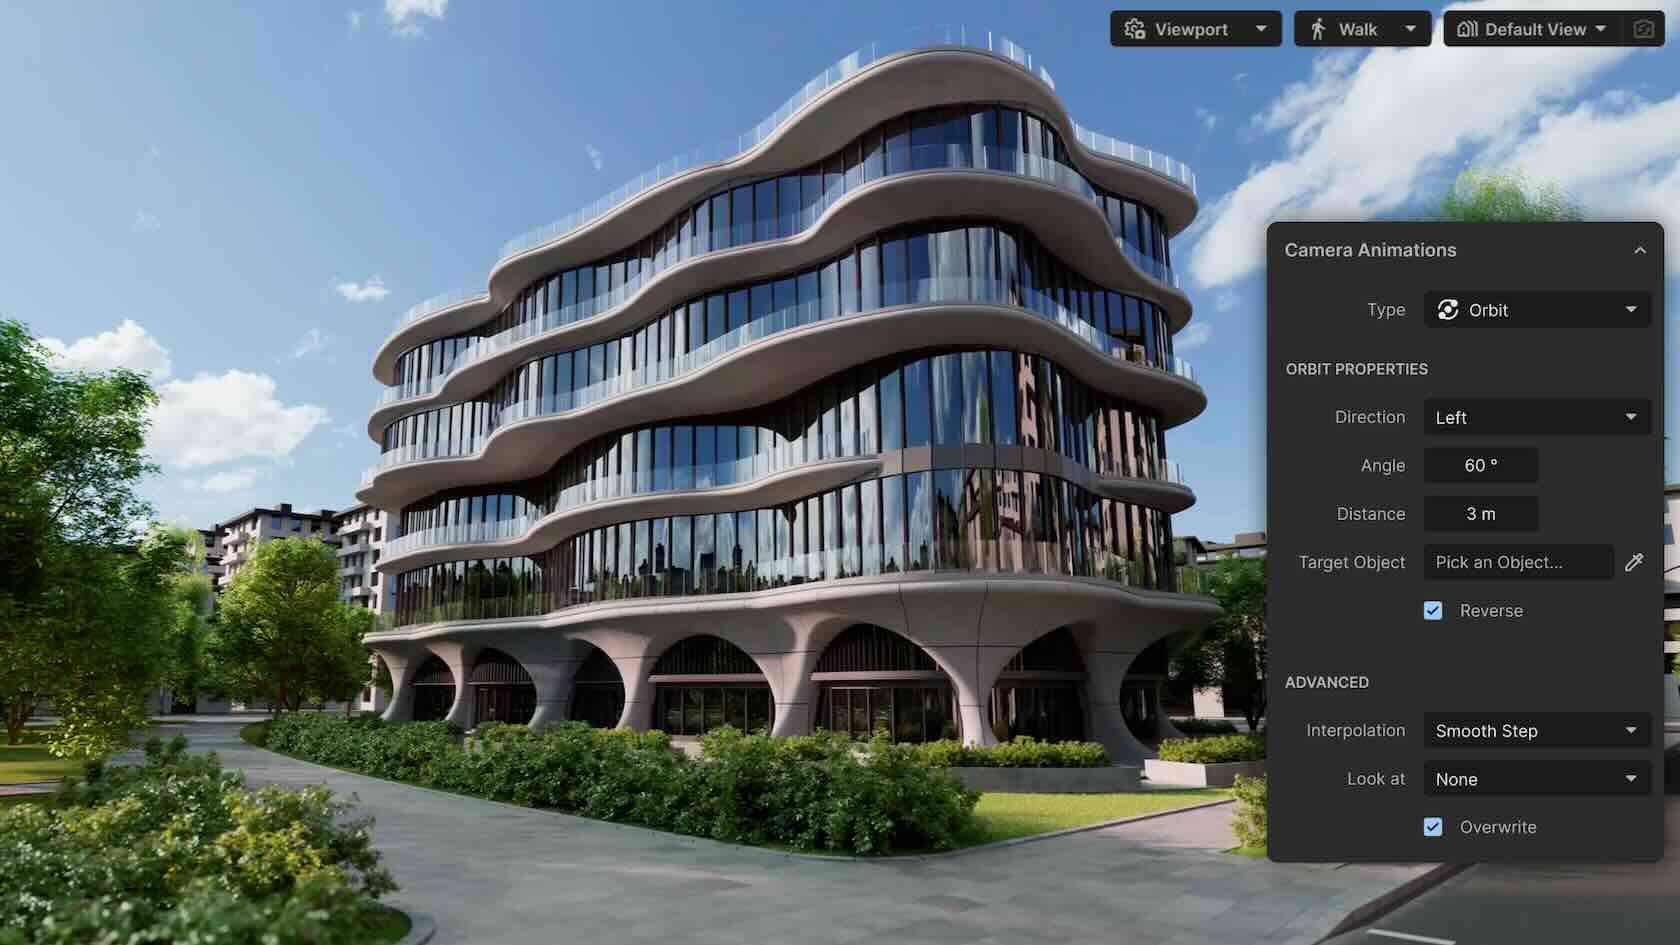
Redshift for Vectorworks provides stunning real-time visuals straight from your design with ease. Purpose-built by Maxon for Vectorworks AEC professionals, it sends your live model into a new, synchronized, dedicated, standalone, real-time renderer, providing fast, continuous visualization. Explore ideas instantly, present beautiful renderings, and trust that every view reflects your latest work. Log onto your customer portal to subscribe.
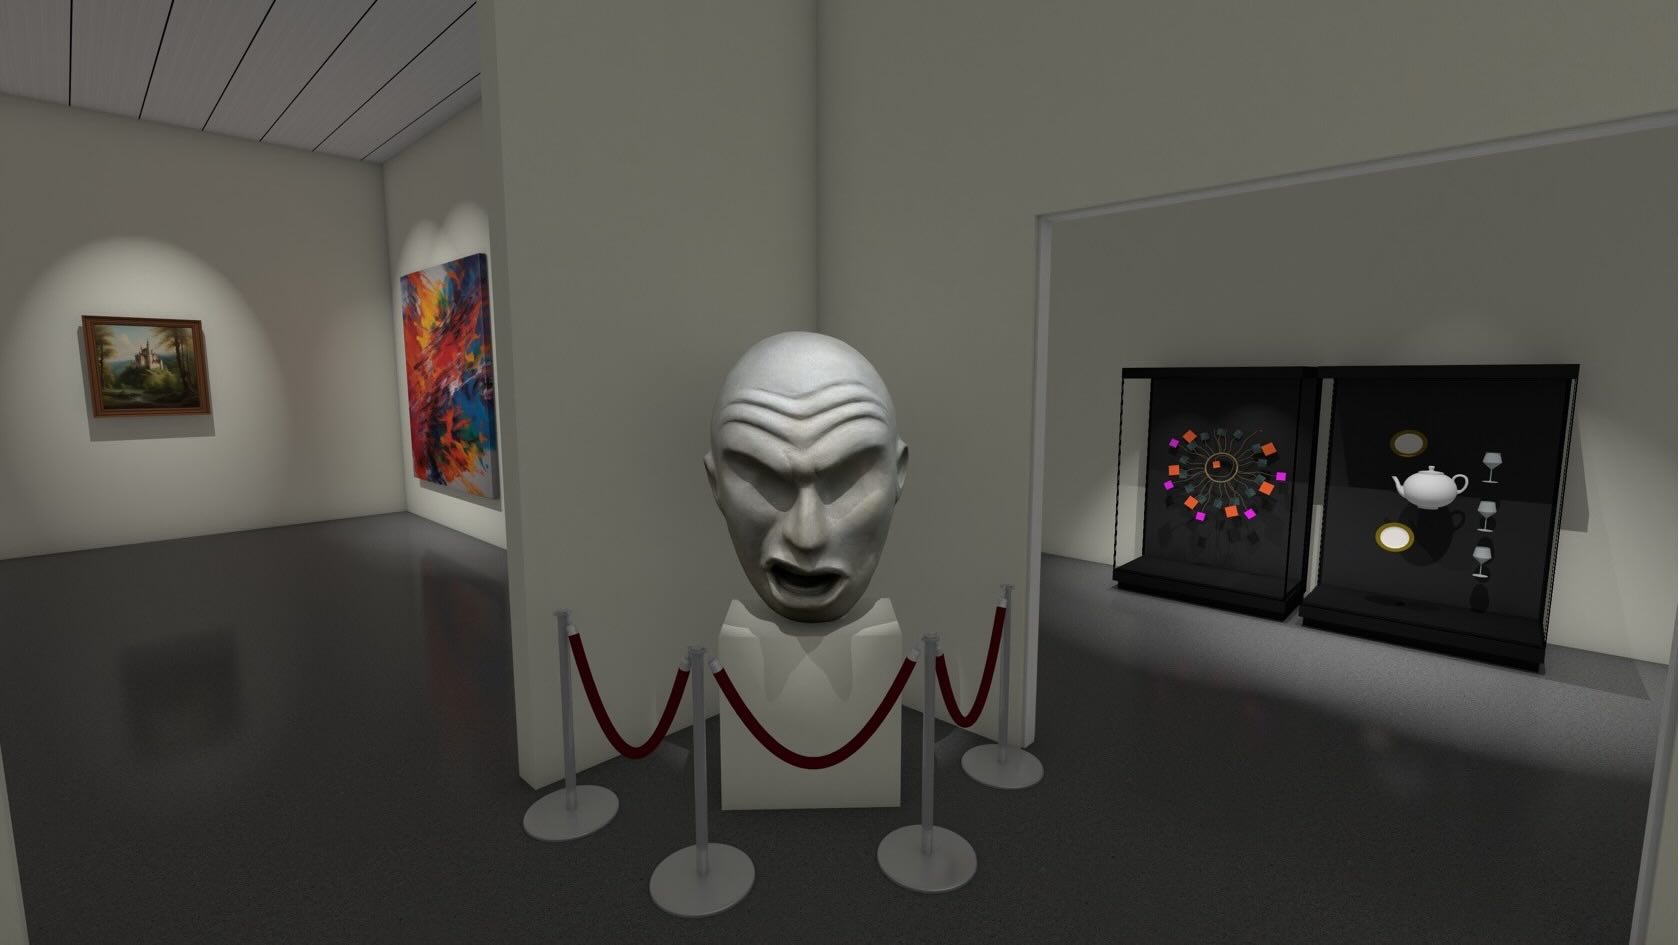
Exhibition design brings together visual culture, architecture, storytelling, and project management to create meaningful public experiences. A successful exhibition does more than look appealing: it helps visitors understand ideas, form connections with works of art, and move through a space with confidence and understanding.
In this course, we will take on the role of curators designing an exhibition for a local art museum. We will build a scale model of the gallery, develop a curatorial concept, and arrange artworks within the space. Through hands-on experimentation, we will explore techniques for transforming and refining the models while considering layout, visitor circulation, interpretation, and display. We will then document our designs through plans, elevations, installation materials, and inventory lists- building the skills to bring your own exhibition from concept to installation.
Entertainment
Entertainment
2h 30m
Intermediate
Learning Objectives
Build accurate scale models of artwork and place them within a 3D model of the museum.
Apply and compare different wall colors, graphics, and signage within the exhibition design.
Add lighting and support infrastructure to the design.
Document the design using plans, elevations, and renderings.
Extract data from the model using reports and data tags.
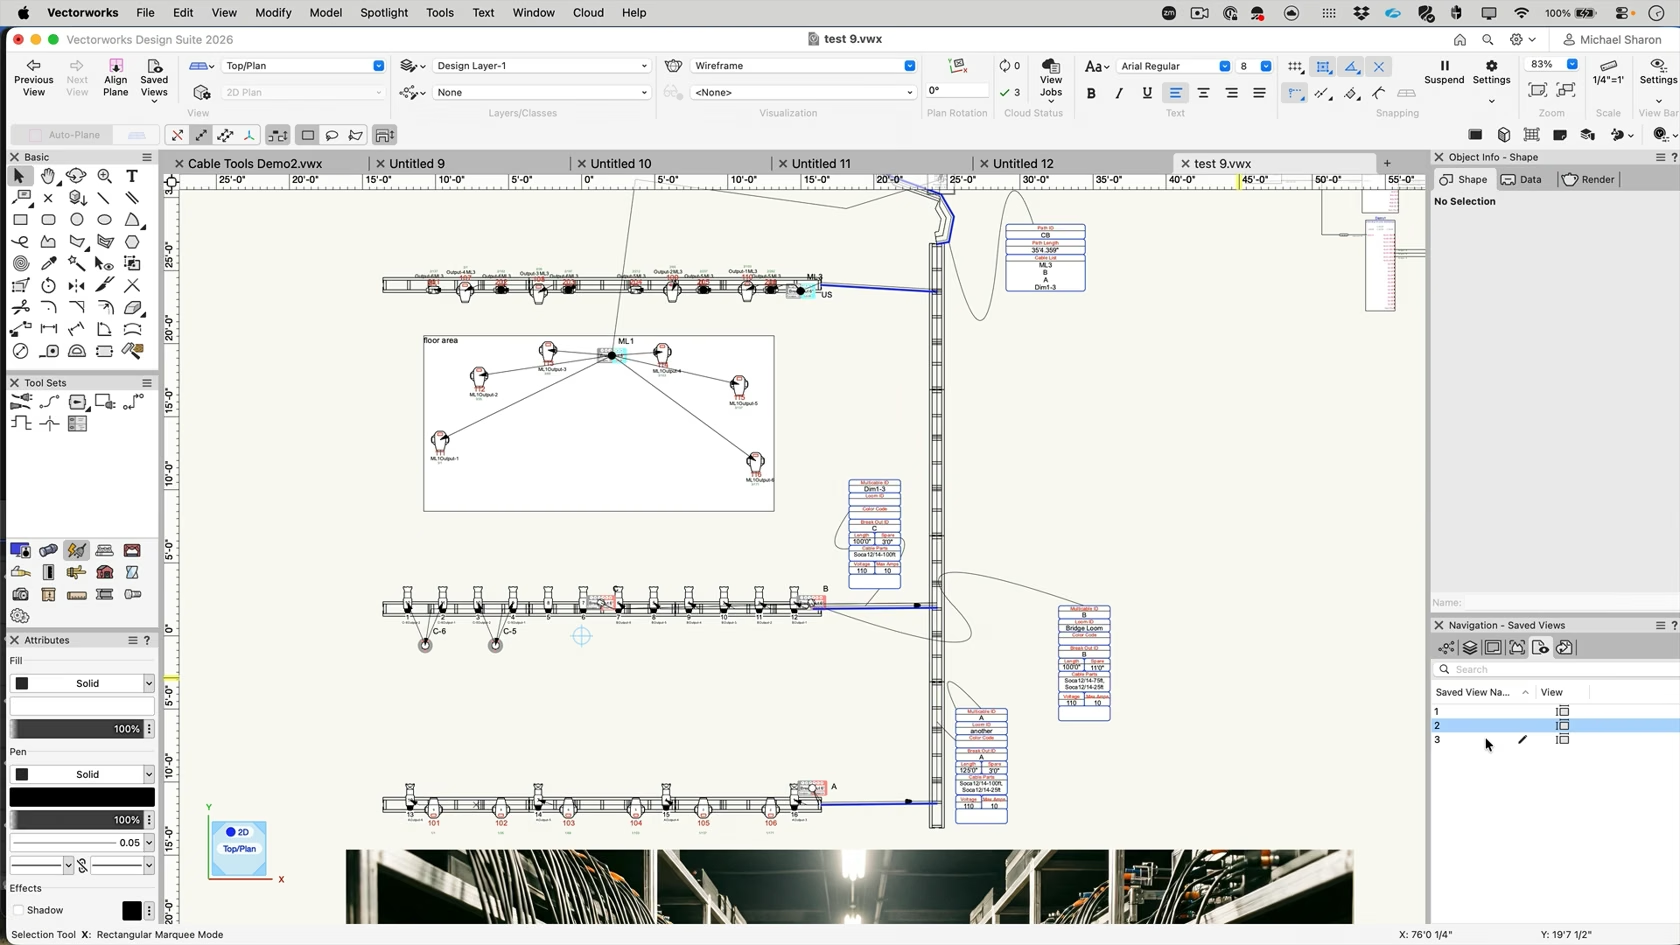
Designing and calculating cable requirements for a lighting rig has long been a necessary but time-consuming task. Estimating cable needs often relies on educated guesses, leaving room for uncertainty.
With the latest version of the Spotlight cable tools, users can now design cable layouts and power distribution systems quickly and with precision. Dimmers, distros, and cable breakouts can be easily inserted, and connections can be drawn manually or generated automatically by Vectorworks. If equipment inventory changes, cable runs can be rapidly updated to reflect available gear. Detailed parts lists and equipment summaries can then be exported into spreadsheets and reports, providing valuable documentation for shop preparation.
The power planning tools in schematic view further enhance workflow by allowing users to repatch systems, balance electrical loads, and calculate accurate power requirements.
Entertainment
Entertainment
1h 30m
Advanced
Learning Objectives
Explore the features and capabilities of the Spotlight cable tools.
Insert power distribution components within a sample project.
Learn methods for documenting projects using data tags and worksheets.